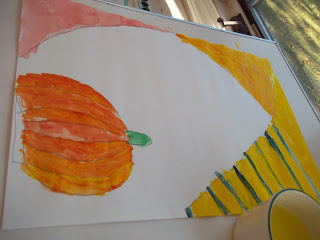
First, draw two lines across the paper. Think of making an X. The lines should intersect, but they can do this anywhere on the paper. The lines can be straight, curvy, or even zigzag lines.
Next, break out the paints. Use only three colors: red, yellow, and black or green. All colors in the pumpkin painting need to be mixed from these colors.
Start painting. Each section of the pumpkin should be a different shade orange and each section formed by the lines should be a different color--white is fine too.
You then should paint the black or green outlines on the painting. Follow the lines and pumpkin outline from earlier.
Then choose two of the colored sections and create a dark pattern on top of it. Woo-hoo, you've done it. Enjoy your super sweet and easy pumpkin painting.
If you liked this art project, check out my art project with a science connection {HERE}


No comments:
Post a Comment